
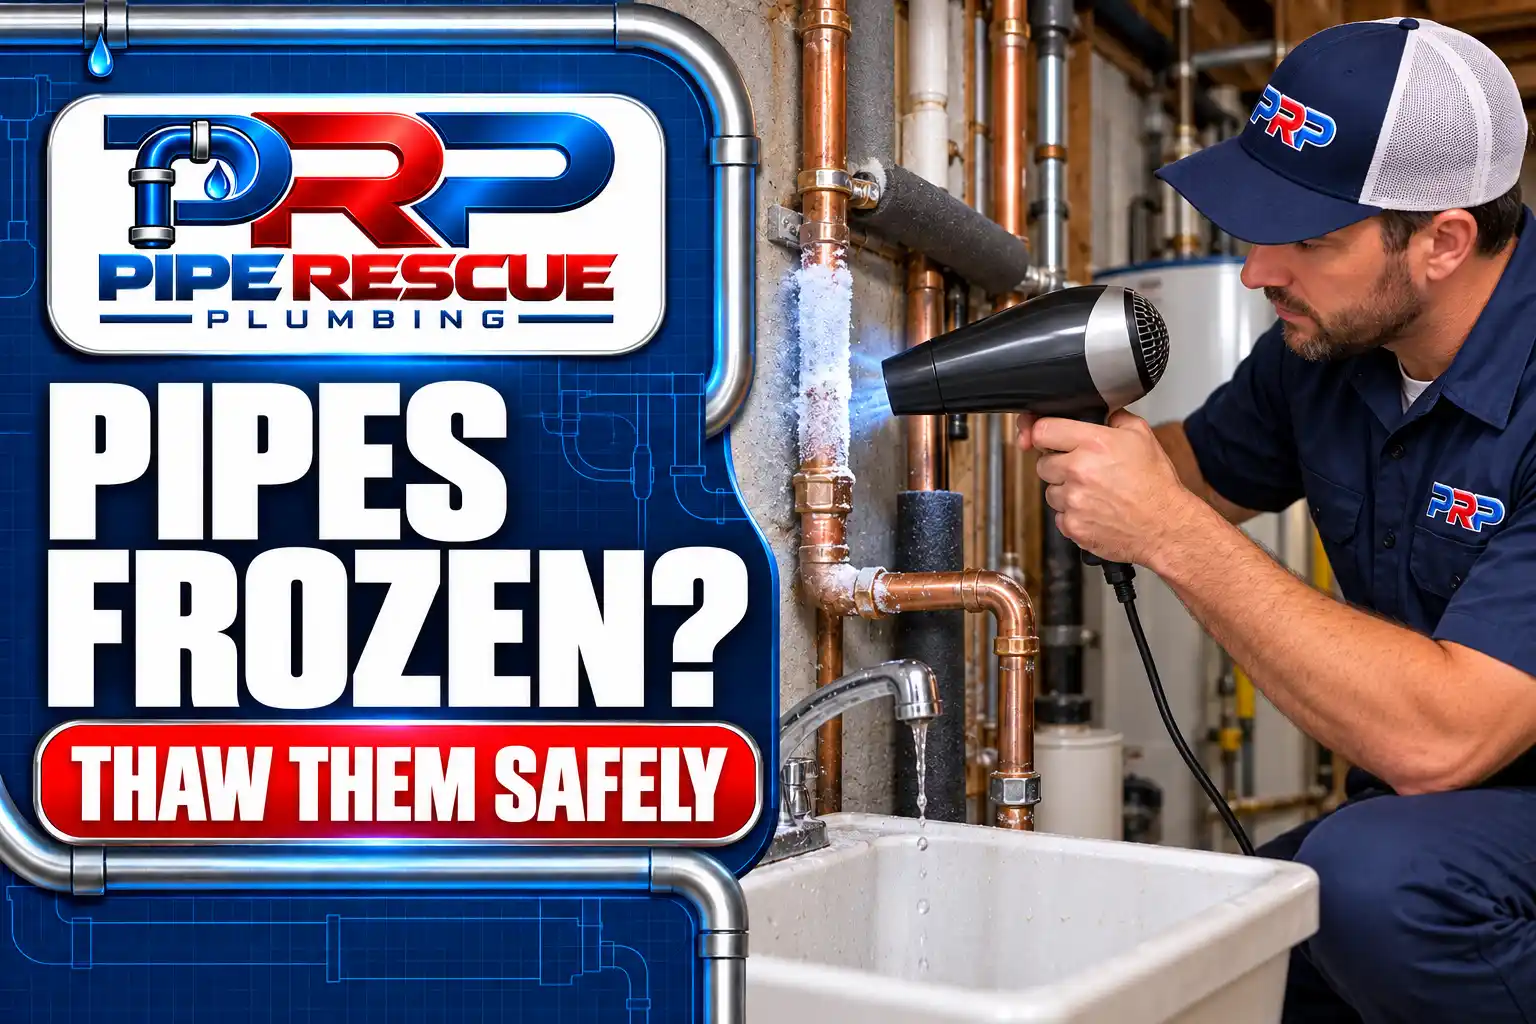
How to thaw frozen pipes safely
If a pipe is frozen, act in this order: open the affected faucet and leave it open (running water, even a trickle, relieves the pressure that bursts pipes and speeds the thaw), find the frozen section (follow the pipe from the dead faucet toward where it passes an exterior wall, crawl space, garage, or basement; look for frost, condensation, or a section that feels colder than the rest), then apply gentle heat, working FROM THE OPEN FAUCET BACK toward the frozen spot: a hair dryer, a heating pad wrapped around the pipe, a space heater warming the area, or towels soaked in hot water. Never use a torch, open flame, or any high-heat device, which can boil water inside the pipe and rupture it, damage joints, or start a fire. Expect 30 to 60 minutes for an accessible pipe. And know two things before you start: the location of your main water shutoff, because a frozen pipe may already be split and will only reveal it when the ice melts, and the line where DIY ends, which is any pipe you cannot see or reach. Here is the full method, the never-do list, and how to tell whether you are about to thaw your way into a flood.
First, Confirm It's Actually Frozen
The classic picture: a hard freeze overnight, and in the morning one faucet (or one side of one faucet, hot or cold) gives nothing or a weak trickle while the rest of the house works. That pattern almost always means ice in the branch line serving that fixture, usually where it runs through the coldest spot in its path: an exterior wall, an unheated crawl space, a garage ceiling, a basement rim joist. Supporting evidence: visible frost or heavy condensation on an exposed section, a pipe that feels dramatically colder than its neighbors, and weather that has been at or below the freeze-risk zone (roughly 20°F is the standard danger line for unprotected pipes, and sustained single digits reach even protected ones).
If NO fixture in the house has water after a hard freeze, the freeze is at the main line or meter, which changes the plan: skip the hair dryer and call for help, because the frozen section is likely underground, at the meter pit, or where the main enters the foundation, none of which is a DIY thaw.
Why Pipes Burst (It's Not Where You Think)
Worth 30 seconds, because it explains the single most important step. Water expands about 9% when it freezes, but the pipe usually does not split at the ice plug itself. The burst happens because the growing plug traps and compresses water between the ice and the closed faucet downstream, and that pressure, with nowhere to go, finds the pipe's weakest point. This is why the first move is always opening the faucet: it gives the pressure an exit. A pipe that freezes with the tap open very often survives the night; the same pipe with the tap closed splits. It is also why "just wait for it to thaw on its own" is a gamble: every hour frozen is another hour of pressure doing quiet work on the pipe wall.
The Safe Thaw, Step by Step
Open the affected faucet fully, both handles on a two-handle fixture, and leave it open for the whole operation. The moment flow returns, even as a trickle, you are winning.
Know where your main water shutoff valve is before you apply any heat. If the pipe is already split, water arrives the moment the ice stops plugging the hole, and you want the off switch within reach, not a mystery.
Find the frozen section. Trace the line from the dead fixture backward. Prioritize the cold geography: exterior walls, under-sink cabinets on outside walls, crawl spaces, garages, the basement's rim joist corners. Frost, sweat, or a distinctly colder section marks the spot.
Apply gentle heat, from the faucet end backward. A hair dryer swept along the pipe is the classic for good reason; a heating pad wrapped and secured, a space heater warming the whole cavity or cabinet (clear of anything flammable), or hot-water-soaked towels rewrapped every few minutes all work. Thawing from the faucet end first means melting ice has an open path out, instead of adding pressure to the trapped section.
Open cabinet doors and warm the room. Heat reaching the pipe's environment is half the job, and it protects the neighboring lines that are an hour behind this one on the same path to freezing.
Keep going until full flow returns, then leave the faucet trickling while the cold snap lasts, and address what let the pipe freeze (more on that below).
The never-do list: no torch, no open flame, no high-output heat gun (boiling water inside a pipe bursts it exactly like ice does, and open flame near framing starts house fires every winter); no electrical appliance in or over standing water; no space heater left running unattended against the pipe; and no kerosene or propane heaters in enclosed crawl spaces where they do not belong.
The Part People Miss: The Thaw Is the Reveal
A frozen pipe is quiet. A frozen pipe that split overnight is also quiet, right up until your thaw succeeds, the ice plug releases, and the line repressurizes through a crack you cannot see. So treat the first minutes after flow returns as an inspection window: walk the line you thawed, feel every accessible joint, and watch ceilings and cabinet floors below it for the next few hours. Any wetness means the freeze already did its damage, and the sequence becomes: main valve closed, then burst pipe repair, and our guide on what to do when a pipe bursts covers the first minutes in detail. If water ran into cabinets, flooring, or a ceiling before you caught it, that is water damage cleanup territory, and speed matters: wet building materials start growing mold within a day or two.
When to Stop and Call
Some versions of this job are not DIY, and knowing which saves both the pipe and the weekend:
The frozen section is inside a wall or ceiling. Warming the room helps, but targeted thawing through drywall is guesswork, and a split pipe in a cavity floods the cavity. Professionals locate the blockage precisely and open only what needs opening.
The whole house is dry. Main line or meter freeze, as above.
Nothing has moved after 90 minutes of proper heat. The plug is longer or deeper than a surface thaw can reach.
This pipe freezes every winter. A repeat offender is routed through territory it cannot survive, and the real fix is pipe insulation, heat cable, or a reroute, not a better hair dryer. One cold snap's thaw is a rescue; the second is a pattern.
Our own plumbers handle frozen pipe thawing service calls all winter with pipe-safe heating equipment and leak detection to check the line afterward, with pricing explained before work begins, across all fifteen counties we serve, from the Hudson waterfront towns to the coldest corners of the state in Sussex County and Warren County, where unprotected pipes lose the fight a few degrees earlier every cold snap.
After the Rescue: Make It the Last One
The cheapest version of this article is the one you never need again. The pipe that froze is telling you exactly where your plumbing is exposed, so act on the intelligence: insulate that run, seal the draft that chilled it (rim joist gaps and crawl space vents are the usual suspects), leave cabinet doors open and faucets trickling on single-digit nights, and if you travel in winter, keep heat at 55°F or above. The full checklist lives in our frozen pipe prevention guide, and for homes with a history, a plumbing winterization visit before the first deep freeze costs a fraction of one burst.
The Bottom Line
Open the faucet, know your shutoff, find the cold spot, and thaw gently from the faucet end backward with a hair dryer or heating pad, never a flame. Watch the line like a hawk once flow returns, because the thaw is when a split pipe tells you about itself. Stop and call when the pipe is in a wall, the whole house is dry, or 90 minutes of heat has moved nothing.
And when the freeze wins anyway, at 2 AM, mid-thaw, or behind a wall: Pipe Rescue Plumbing's own experienced plumbers help New Jersey homes and businesses with frozen and burst pipes, major leaks, and the cleanup that follows, with pricing explained before work begins and help documenting damage for your insurance claim. Call (888) 886-4784.
Frequently asked questions
How do I thaw frozen pipes fast without bursting them?
Open the affected faucet fully and leave it open, then apply gentle heat to the frozen section, working from the faucet end backward: a hair dryer, a wrapped heating pad, a space heater warming the area, or hot towels. The open faucet is the critical step, because pipes burst from pressure trapped between the ice plug and a closed tap, not from the ice itself. Expect 30 to 60 minutes for an accessible pipe. Never use a torch, open flame, or high-output heat gun.
Will frozen pipes thaw on their own?
Eventually, when temperatures rise, but waiting is a gamble with two bad outcomes: every frozen hour adds pressure between the ice and your closed faucets, and a pipe that splits while frozen floods the moment it thaws unattended. If you choose to wait out a short freeze, at minimum open the affected faucet to relieve pressure, warm the space, and be home when the thaw happens so you can catch a leak in its first minutes rather than after a ceiling shows it.
How do I know if a frozen pipe has already burst?
Before the thaw, you often cannot, which is why you should know where your main shutoff is before applying heat. Warning signs: visible bulges, cracks, or frost heave at fittings; a hissing or trickling sound once thawing starts; and any wetness appearing along the line, under cabinets, or on ceilings below as flow returns. After a successful thaw, inspect every accessible joint and watch the area for several hours. Water pressure that stays low at that fixture can also mean a split is leaking into a cavity.
At what temperature do pipes freeze in a house?
The standard danger line for unprotected pipes (exterior walls, crawl spaces, garages) is around 20°F outside, especially with wind. Sustained single-digit cold threatens even moderately protected lines, and wind chill driving through gaps in rim joists and vents does disproportionate damage. Freezing takes hours of exposure, which is why overnight lows do most of the damage and why trickling faucets and open cabinet doors on the coldest nights are effective: moving water and warmer air both buy margin.
Can I use a hair dryer to unfreeze pipes?
Yes, the hair dryer is the recommended DIY tool: enough heat to thaw, not enough to boil the water inside or ignite surroundings. Sweep it along the pipe rather than holding it on one spot, start from the open-faucet end and work backward toward the blockage, and keep it clear of standing water. Heating pads, warm towels, and a space heater warming the room all work on the same principle. The forbidden list is anything with flame or extreme output: torches, open flame, and high heat guns.
What do I do if the frozen pipe is inside a wall?
Raise the room's temperature (turn up the heat, aim a space heater at the wall section, open any access panels or vanity cabinets on that wall) and open the served faucet, but skip cutting or drilling on a guess. A pipe frozen in a cavity is also the highest-risk location for an unseen split, which floods the wall the moment it thaws. This is the scenario where professional help earns its fee: locating the blockage precisely, thawing with pipe-safe equipment, and pressure-checking the line before closing anything up. Call (888) 886-4784.
Written by the Pipe Rescue Plumbing team.